What Is the Solar Panel Installation Process?
5 July 2026 | By RJ Hill Electrical
If you are comparing quotes or weighing up whether solar is worth it, one question usually comes up early - what is the solar panel installation process, and how disruptive is it likely to be? For most UK homes and commercial properties, the process is more straightforward than people expect. The key is getting the design, electrical work and commissioning right from the start, because that is what determines long-term performance and savings.
A well-installed solar PV system is not just a set of panels on a roof. It is a planned electrical installation that needs to suit the building, match your energy use and comply with current standards. That is why the process begins long before any panel is lifted into place.
What is the solar panel installation process for UK properties?
In simple terms, the installation process moves through five main stages: survey, system design, quotation and approvals, physical installation, then testing and handover. On some projects, battery storage, EV charging or other electrical upgrades are included at the same time, which can make the system more effective and more future-ready.
The exact route depends on the property. A standard domestic roof-mounted system is usually quicker than a commercial project, and an older building may need extra checks before work starts. If you want battery storage or backup capability, there are more design decisions to make around inverter choice, load management and how much energy you want to retain for evening use.
Stage 1: Site survey and suitability checks
The first step is a proper survey of the property. This is where the installer assesses whether solar is suitable, how much generation the site is likely to achieve and what practical constraints need to be factored in.
Roof condition matters straight away. If the roof is ageing or likely to need work in the near future, it is usually better to address that before panels go on. Orientation and pitch are also important, but they are not as simple as saying only south-facing roofs work. South-facing roofs often produce the strongest annual yield, yet east-west layouts can still be very worthwhile, especially if they better match when electricity is used across the day.
Shading is another key part of the survey. Trees, neighbouring buildings, chimneys and dormers can all affect output. A good installer will not brush over this point. Partial shading does not always rule solar out, but it does influence panel layout, expected generation and whether optimisers or a different inverter arrangement would make sense.
At this stage, the electrical side of the property is checked too. The existing consumer unit, cable routes, meter position and available wall space for inverters or batteries all influence the final design. For businesses, there may also be wider considerations around three-phase supplies, operational hours and peak demand.
Stage 2: System design based on your usage
Once the site has been assessed, the next step is designing a system that suits the property and the customer's goals. This is where the best results are won or lost.
Some customers want to maximise roof coverage and generate as much electricity as possible. Others are more focused on payback, battery storage or reducing grid reliance during the evening. A household with high daytime occupancy may use solar differently from one that is empty until 6pm. A business operating mostly through daylight hours could benefit more directly from on-site generation than a site with overnight usage.
This is why system size should not be chosen on roof space alone. A larger system can improve annual savings, but only if the property can use or store enough of that energy. Equally, a smaller system may be cheaper upfront but leave good savings on the table.
The design stage usually covers panel placement, inverter specification, expected annual generation and any battery integration. If a battery is included, the design should account for charge and discharge behaviour, not just storage capacity on paper. The aim is practical performance - lower import from the grid, stronger self-consumption and a system that works around real energy habits.
Stage 3: Quotation, paperwork and approvals
After the survey and design work, you should receive a clear quotation setting out what is being installed, how the system is expected to perform and what is included in the price. That should cover equipment, labour, testing and commissioning, along with any optional extras such as battery storage or bird protection.
This stage often raises questions around permissions and grid approvals. In many domestic cases, solar panels can be installed under permitted development, but that is not universal. Listed buildings, conservation areas and some commercial premises may need additional checks. It is always worth confirming early rather than assuming.
There are also network considerations. The installer may need to notify or apply to the local distribution network operator depending on the system size and configuration. This is a normal part of the process, but it is one of the reasons it pays to work with an experienced, MCS-accredited installer who understands both the installation standards and the paperwork behind them.
Stage 4: Installing the mounting system and panels
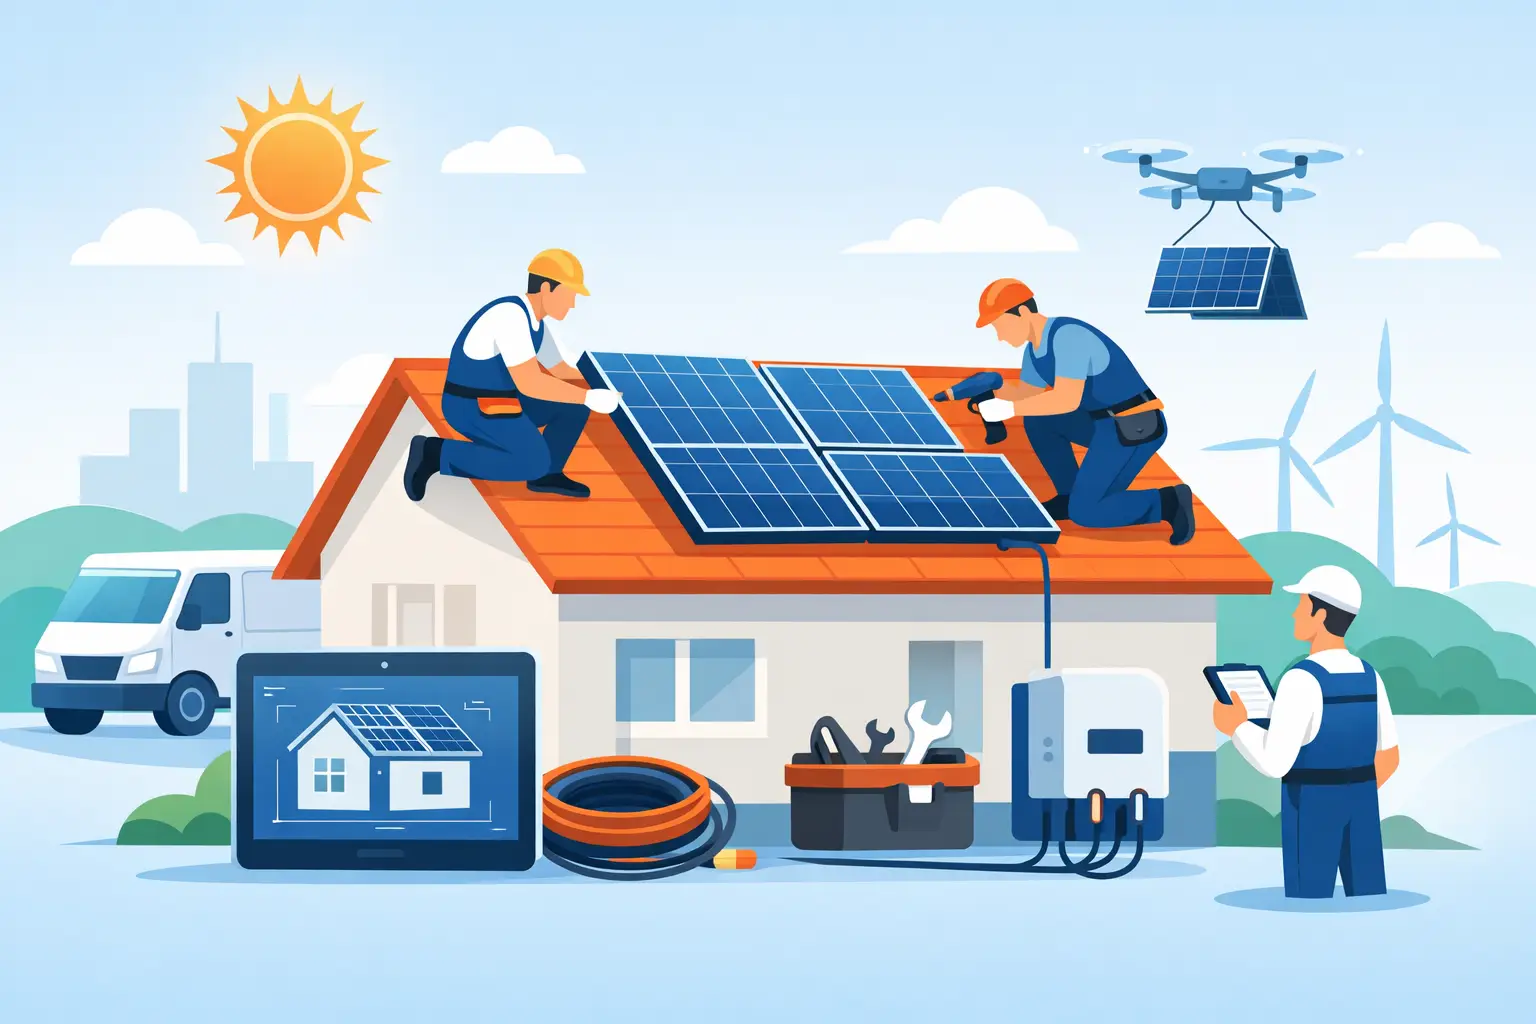
When installation day arrives, the roof work usually starts with the mounting system. Roof anchors or brackets are fixed securely to the structure beneath the tiles or roof covering, then rails are fitted to support the panels.
This part of the job has to be carried out carefully. The roof must remain weatherproof, the fixings must be structurally sound and the layout must match the agreed design. Good workmanship matters here, because a solar system should perform for years without creating roofing issues.
Once the mounting framework is in place, the panels are attached and wired together. Depending on the system, the cabling is routed down to the inverter location, which is often in a loft, garage, utility area or plant room. For domestic properties, roof installation can often be completed within a day, although larger or more complex systems may take longer.
Stage 5: Electrical installation and inverter connection
With the panels in place, attention shifts to the electrical installation. This includes connecting the DC side from the panels to the inverter, then connecting the AC side into the property's electrical system.
The inverter is the part that converts the electricity generated by the panels into usable power for the building. If a battery is being installed, this may involve a hybrid inverter or separate battery equipment depending on the design. Isolation switches, protection devices and generation metering are also part of the setup.
This stage is where solar installation overlaps heavily with general electrical contracting. It is not just about getting the system running. It needs to be safe, compliant and integrated properly with the building's existing electrical infrastructure. Where required, upgrades to the consumer unit or other electrical works may be recommended as part of the job.
Stage 6: Testing, commissioning and handover
After the physical installation is complete, the system must be tested and commissioned. This confirms that it is operating safely and performing as intended.
Testing covers electrical integrity, polarity, isolation and overall functionality. The installer will check that generation is being recorded correctly, confirm inverter operation and verify that any battery system is charging and discharging properly. Monitoring platforms are usually set up at this stage as well, so you can track production and see how the system is performing over time.
You should also receive the relevant handover information, including certificates, product documentation and guidance on how to use the system. If the installer is MCS accredited, that certification supports quality assurance and is often relevant for export tariffs and other scheme requirements.
How long does the solar panel installation process take?
The physical fitting of a standard domestic system is often completed in one to two days. The full process, from first enquiry to final commissioning, usually takes longer because it includes survey work, design, equipment scheduling and any approvals required.
That timeline can stretch if the job includes battery storage, scaffolding coordination, roof repairs or network approval delays. Commercial projects also tend to involve more planning and site-specific considerations. So while the installation itself can be quick, the preparation around it is just as important.
What can affect the process?
Not every solar installation follows exactly the same path. Roof shape, access, scaffolding needs, shading, electrical capacity and building age can all alter the scope of work. If you are adding a battery, EV charger or backup elements, the design becomes more tailored and the installation can take longer.
There is also a balance between cost and performance. Premium components may improve monitoring, efficiency or resilience, but they are not automatically the right choice for every property. The best system is usually the one that suits your actual usage and budget rather than the one with the longest specification sheet.
For that reason, a sensible installer will talk honestly about expected returns, not just maximum generation figures. Real value comes from how much energy you use on site, how well the system is designed and how reliably it performs year after year.
Aftercare matters as much as installation
A solar PV system is low maintenance, but it is not something you should forget about entirely. Ongoing support matters if monitoring shows a fault, if you want to add battery storage later, or if your energy use changes because of an EV, heat pump or business expansion.
That is one reason many customers prefer a full-service installer rather than juggling multiple contractors. With RJ Hill Electrical, the focus is on designing and installing systems that deliver practical savings, then supporting those systems properly once they are in use.
If you are considering solar, the process should feel clear from the start. A good installer will explain what your property can realistically achieve, build a system around that, and complete the work to a standard that protects both performance and safety. The result is not just cleaner power on the roof, but a more efficient property with stronger control over its energy costs.